Create a Flipboard Layout for eXo Platform 4
With eXo Platform, you can easily define new Content Types and their associated view. These can be used to create elaborate designs while benefiting from the powerful content management system.
In this tutorial, you will learn how to create a Flipboard-like layout for a page. We’ve called it FlipFeed.
Note: These screenshots were taken on eXo Platform Enterprise Edition 4.0.
Add the News Content Type
We’ll start by creating a new Content Type for news items. To create this Content Type, follow these steps:
- Log in as the Content Administrator user
- Go to the Content Administration page
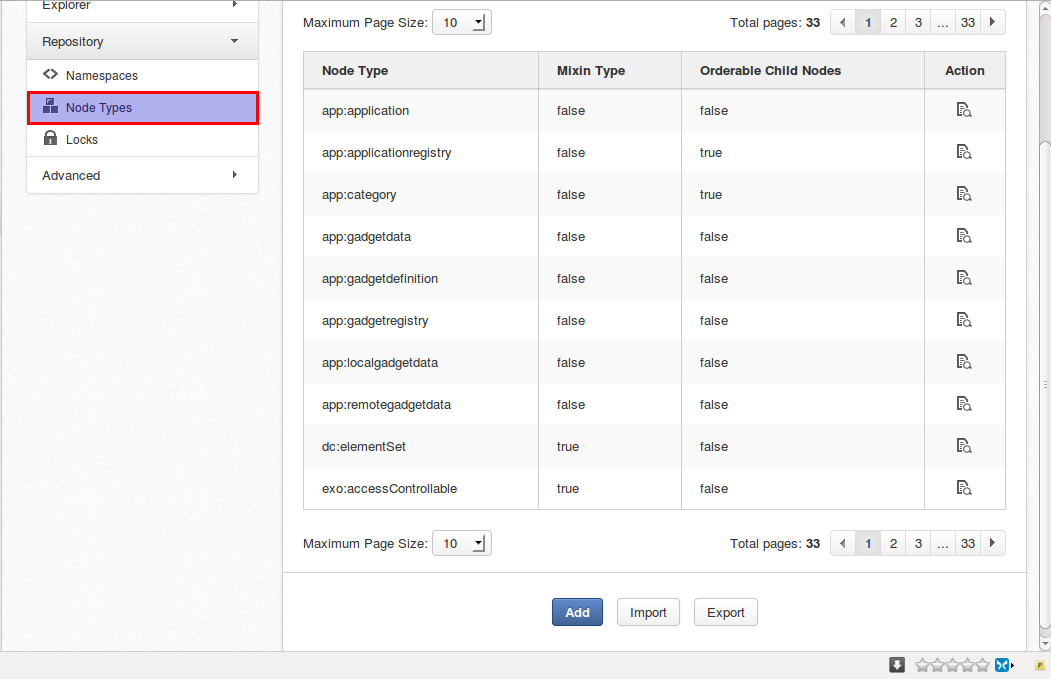
- Select Repository, then Node Types
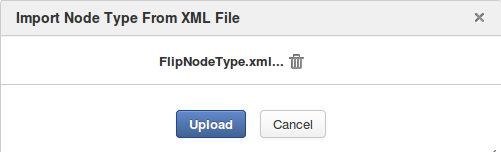
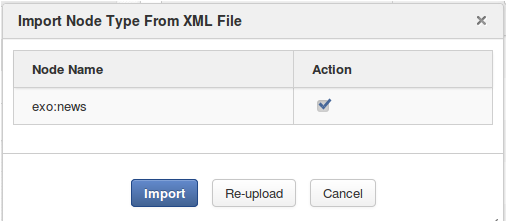
- Now you can add a new Node Type defined by yourself or import a predefined Node Type. Please use this predefined Node Type as an example: https://github.com/exo-addons/resource-center/blob/master/flip-feed/news-nodetype.xml.
This Content Type definition is very basic. It simply contains an image that will be used in the FlipFeed effect.
Add the News Template
To create a template for the news content, we now need to create a dialog that will allow us to interact with the news Node Type from the Content Explorer. We also need to create a default view that will be used to display the news content. To do so, please follow these steps:
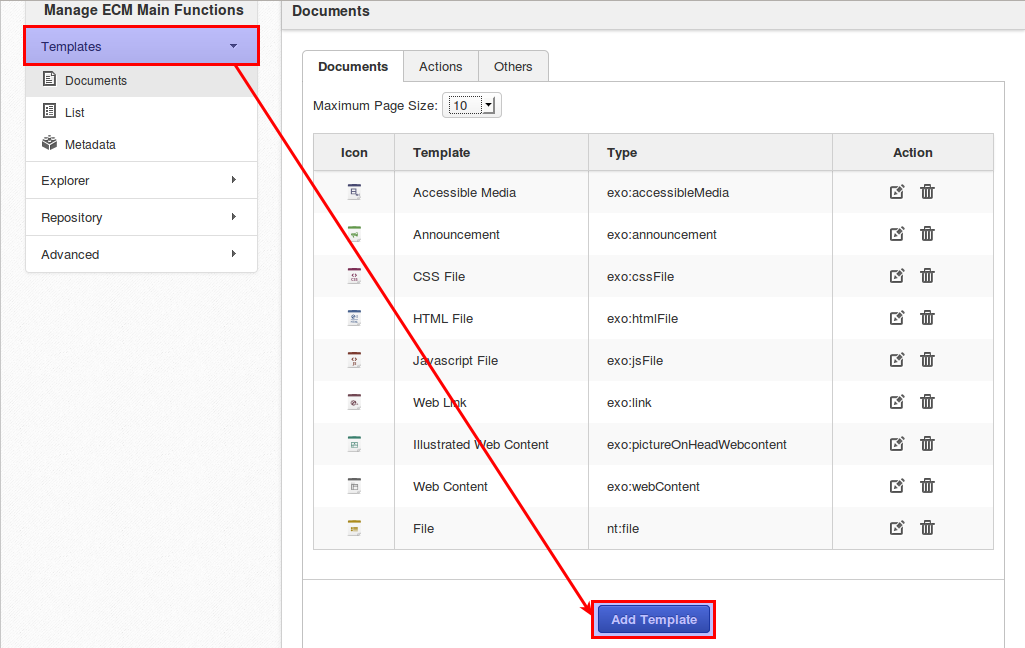
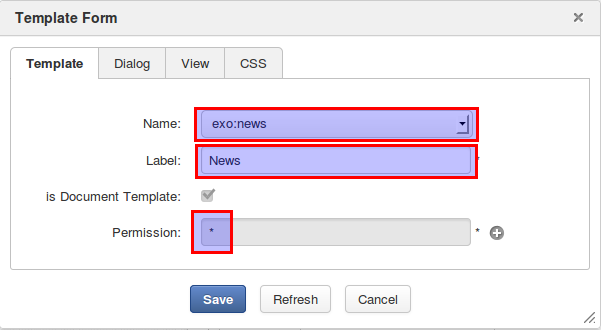
- In the Content Administration, select Templates then Add Template
- Fill in the fields as required (label, permissions, etc.). Select “exo:news” for the name
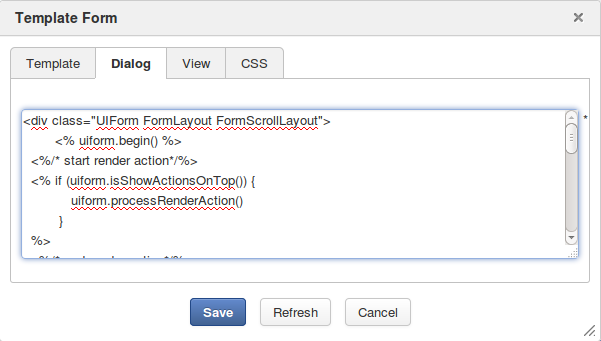
- Select the Dialog tab and replace the auto-generated dialog template with this one: https://github.com/exo-addons/resource-center/blob/master/flip-feed/dialog1.gtmpl.
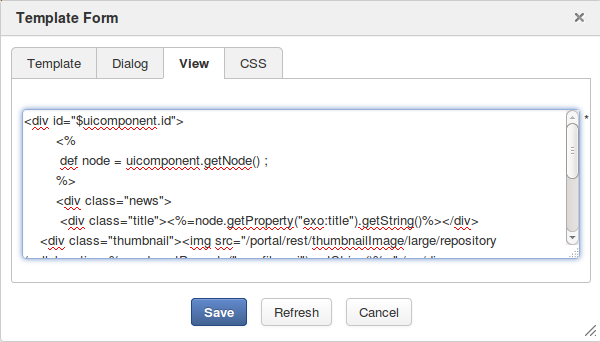
- Switch to the View tab and replace the view template with this one: https://github.com/exo-addons/resource-center/blob/master/flip-feed/view1.gtmpl.
- Save your template
- Finally, let’s test it!
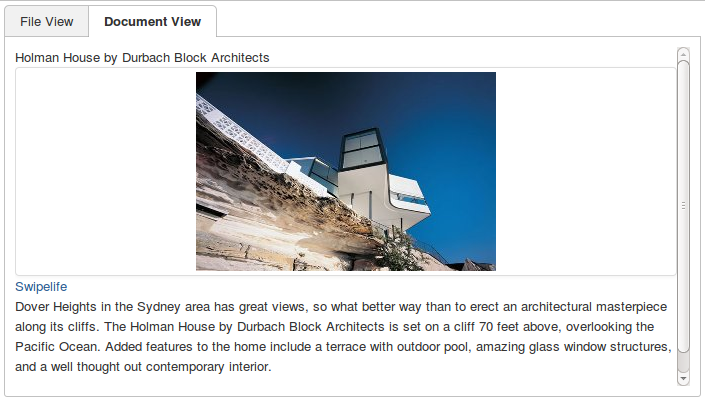
Create a News Item
To make sure everything is okay, we’ll add a new news item:
- Go to the Sites Explorer, select New Content
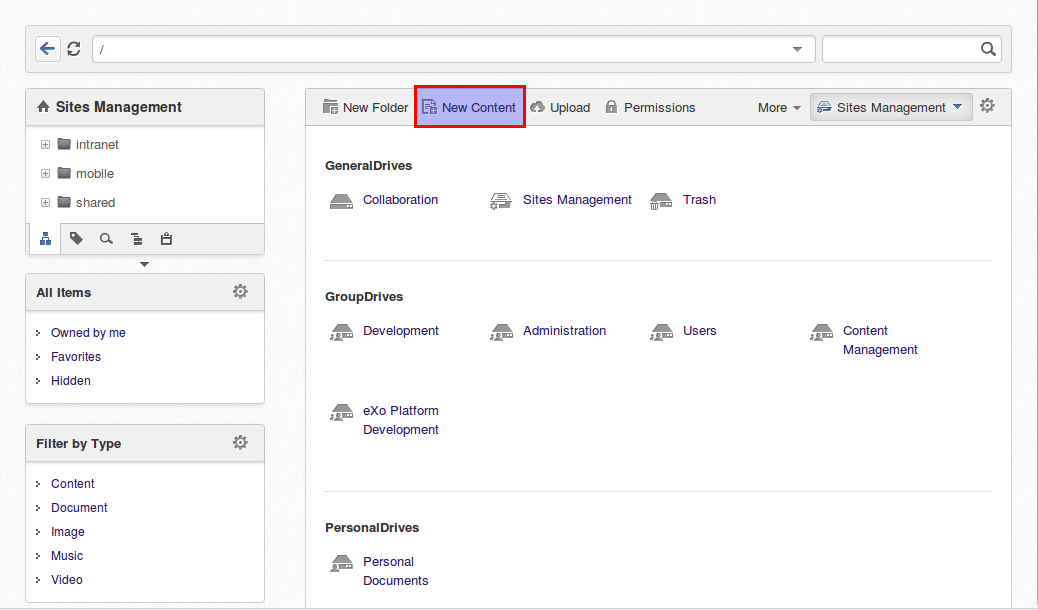
- Select News as the Content Type
- Fill in the field as required then Save
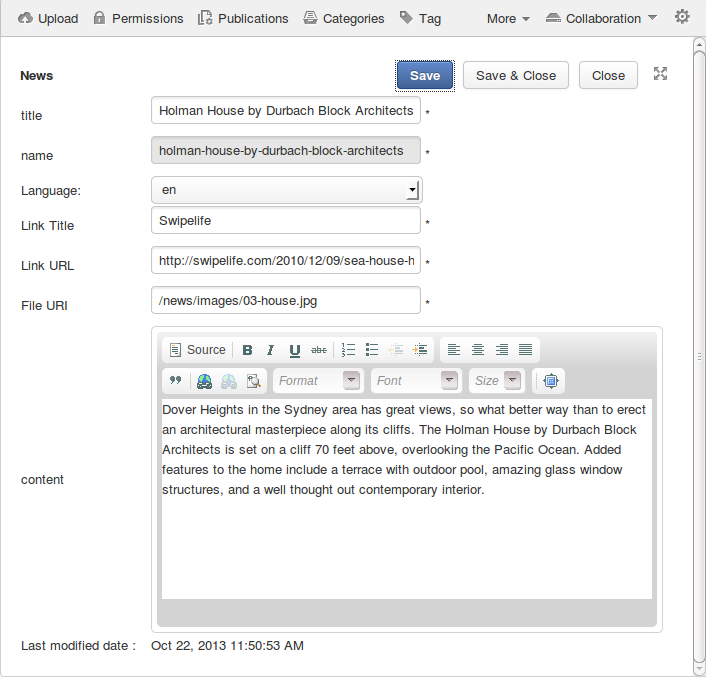
- You should see something like this:
Import a News Sample Set
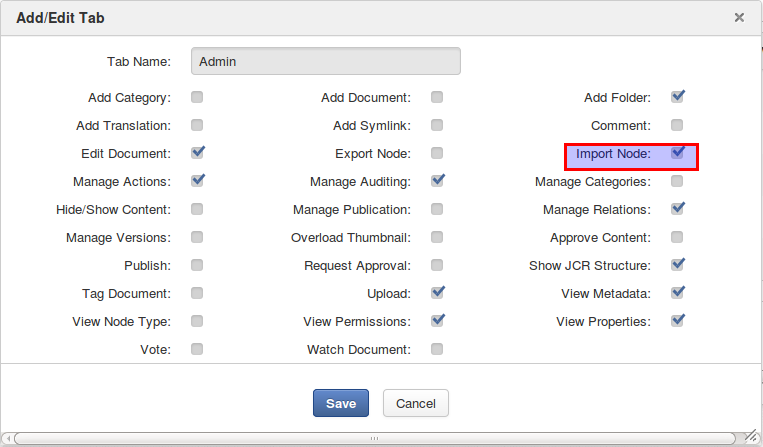
You can import a sample set to test the template with a larger number of news items. The button to import nodes is not visible by default, so we’ll first need to add that to the admin view:
- Go to the Content Administration app
- Select Explorer then Views
- Click on the Edit button of the Admin view
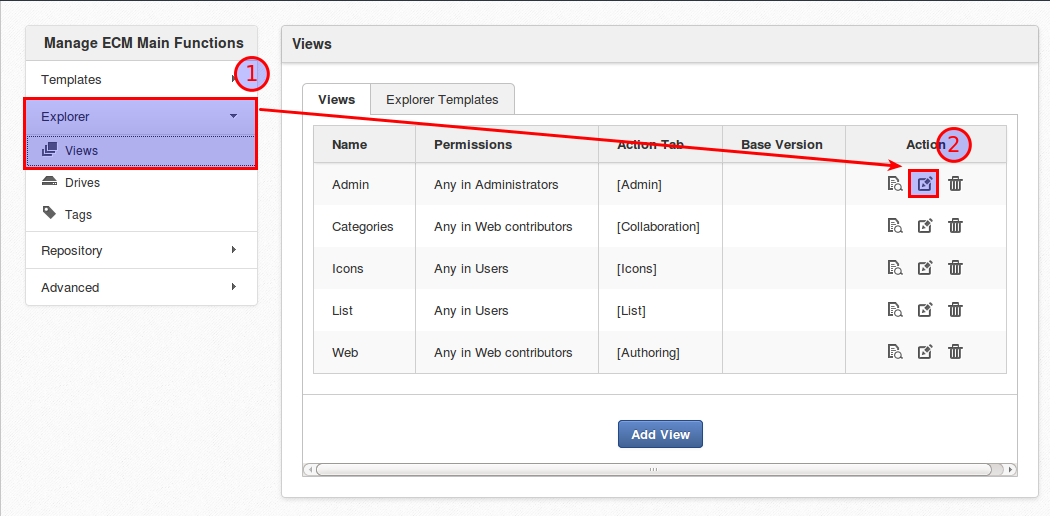
- Switch to the Action tab and click on the Edit button of the Admin tab
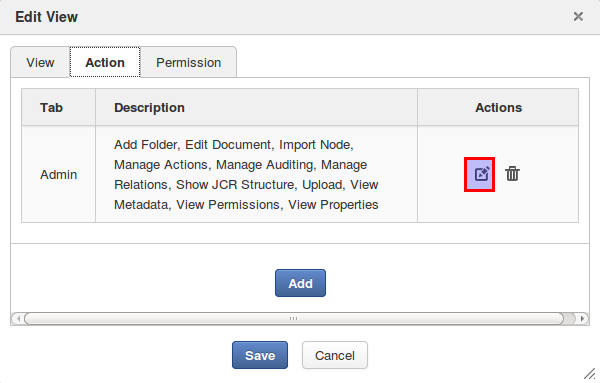
- Select Import Node then Save
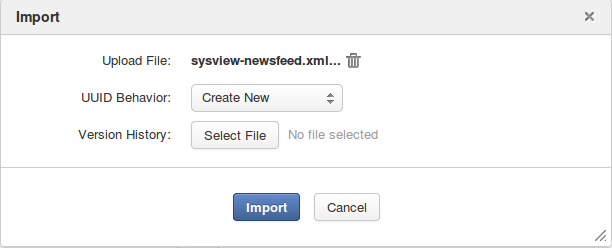
Now we can go back to the Sites Explorer and import this sample set: https://github.com/exo-addons/resource-center/blob/master/flip-feed/sysview-newsfeed.xml.
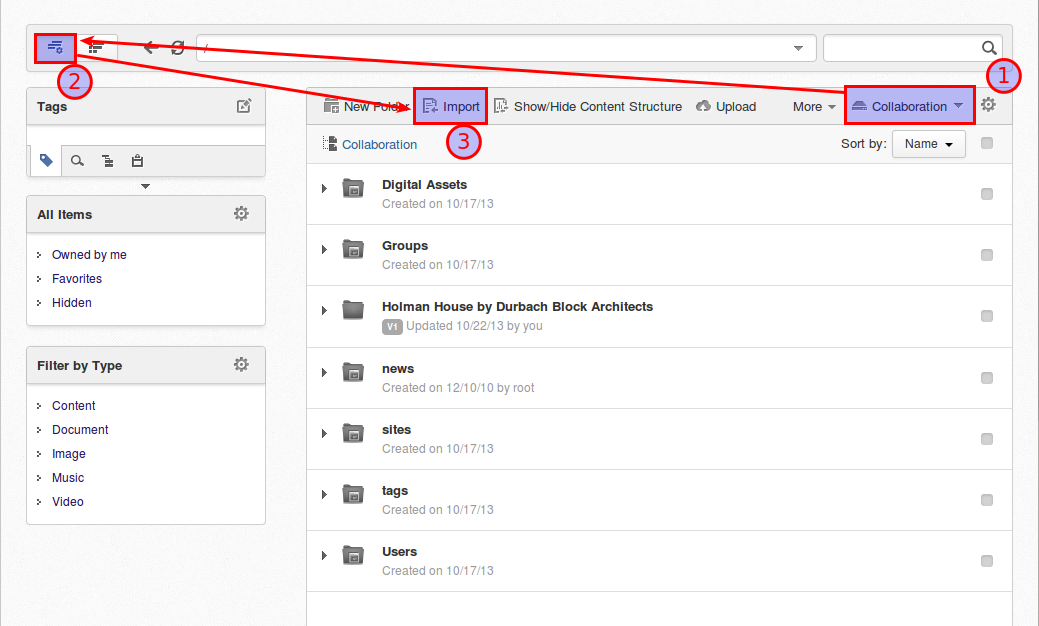
- Select Collaboration Drive
- Switch to the Admin view
- Click Import
Install the FlipFeed Template
The view for each individual news item has been defined but we now want to define how these items will be displayed when used by a Content List Viewer portlet. For that, we’ll have to add a new Content List Viewer template:
- Open the IDE app (Administration -> IDE)
- Select menu Windows -> Select Workspace…, then “dms-system” workspace
- In the left tree, open: dms-system > exo:ecm > views > templates > content-list-viewer > list
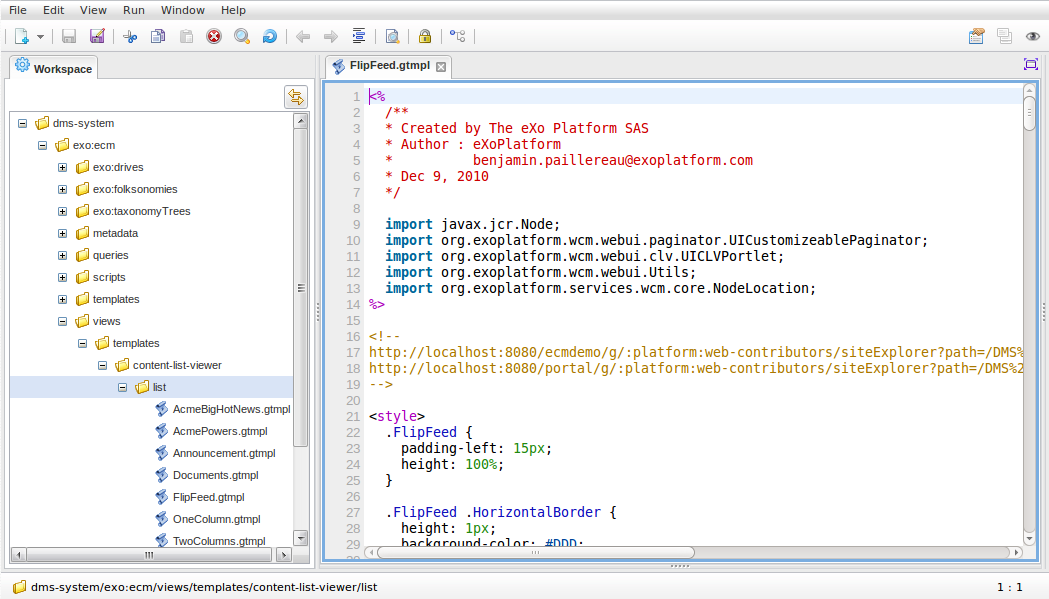
- Create a new template (menu > File > Open Local File…)
- Copy this template and save: https://github.com/exo-addons/resource-center/blob/master/flip-feed/FlipFeed.gtmpl
Create the FlipFeed Page
We’ll now create a new page to display our news with the FlipFeed effect:
- Go to the Acme website and create a new page (Edit -> Page -> Add Page)
- Choose a name and title, then go to the layout
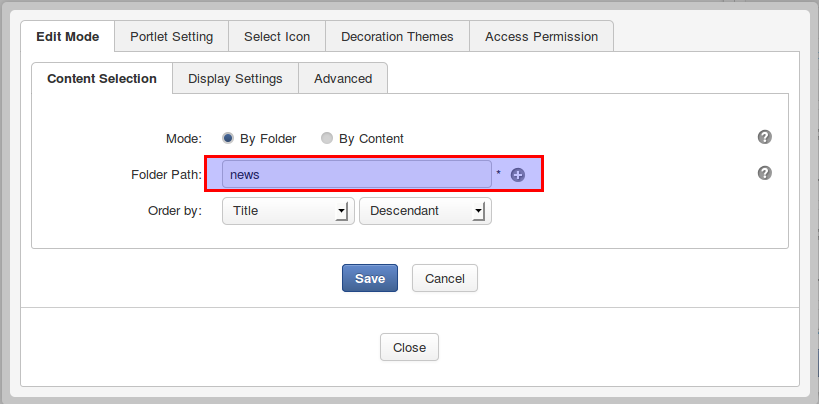
- Add a Content List app and click on the Edit button to set the preferences
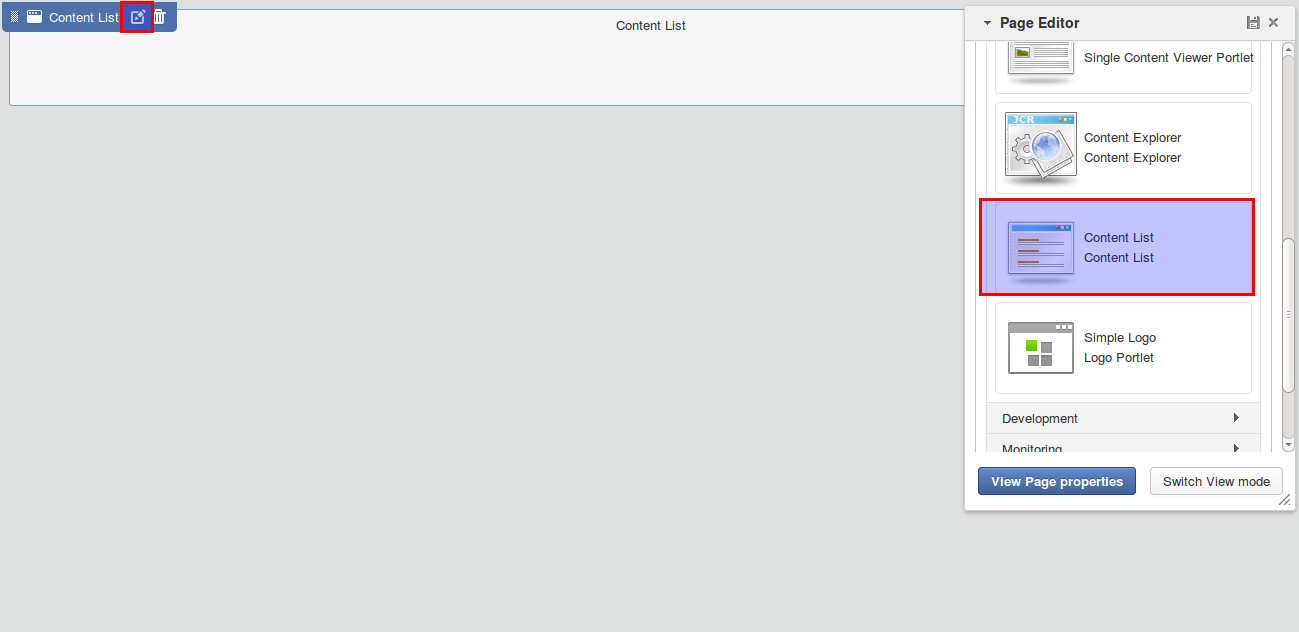
- Point the Folder Path to our sample set location (news)
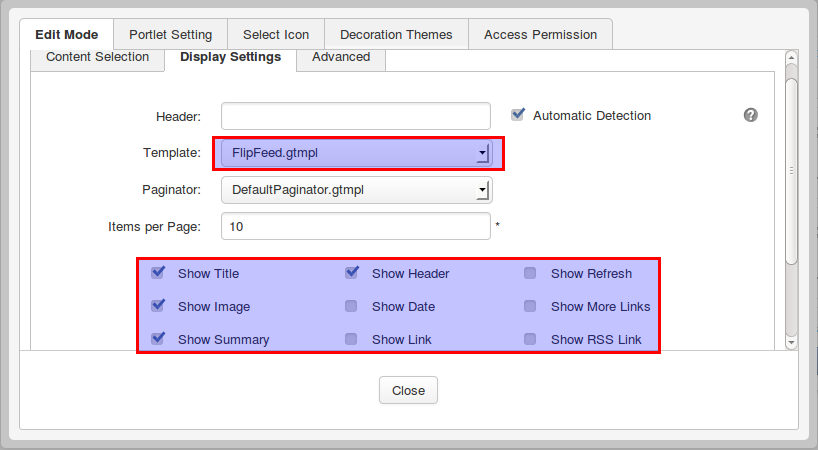
- Switch to the Display Settings tab, set Template to FlipFeed.gtmpl and change the other settings as required
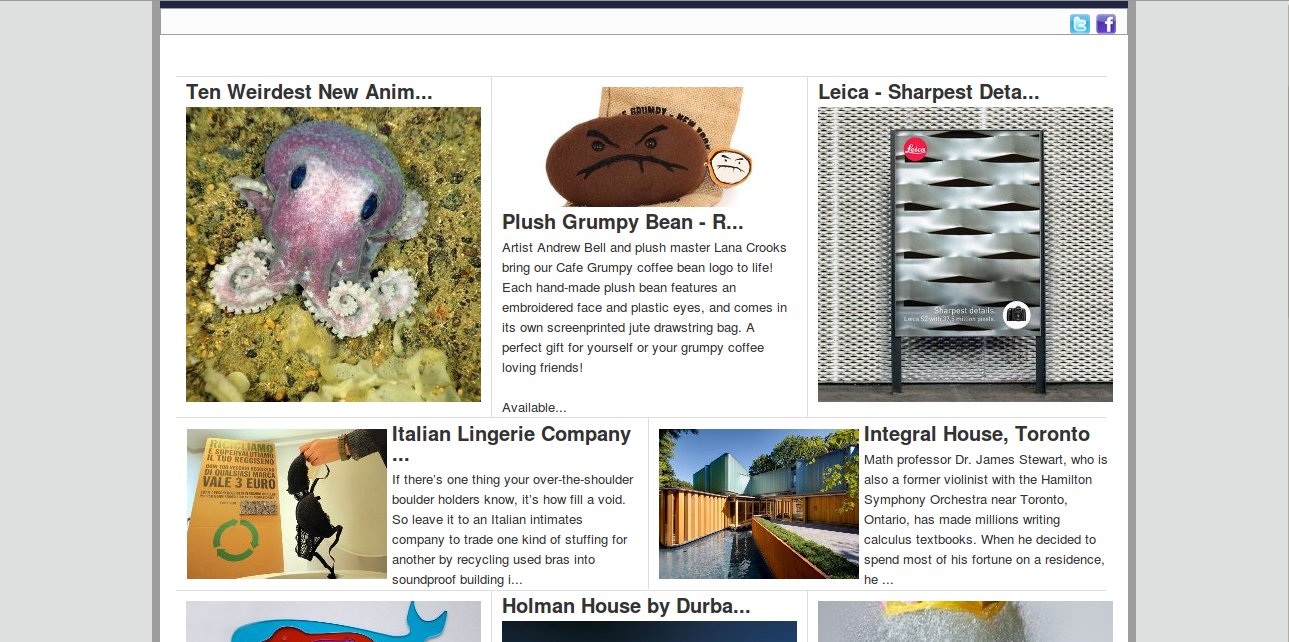
Final Result
You should finally see something like this:
You can find more tutorials in the eXo Resource Center and by joining the eXo Community.