eXo Add-ons: Creating Photo Galleries
It was to time to think about a new photo gallery feature which allows to the user to illustrate and use images in an animated diaporama.
eXo platform 3.5 gives us enough flexibility to extend content types and offer simple ways to create and use content templates. That’s why I created the photo gallery template which enables the user to create gallery content, to upload images, to edit the metadata and to display them in an animated format, based on eXo Platform’s Document management system.
In this tutorial, I’ll illustrate the most important features of this content type and show how to install and then use it under eXo Platform 3.5.
Resources
It is possible to get source code from this location: https://github.com/exo-addons/adn-gallery
Installation via UI
The easiest way to perform the installation of the gallery is through the User interface, but it’s not persistent after dropping the database.
The namespace and nodetype configuration
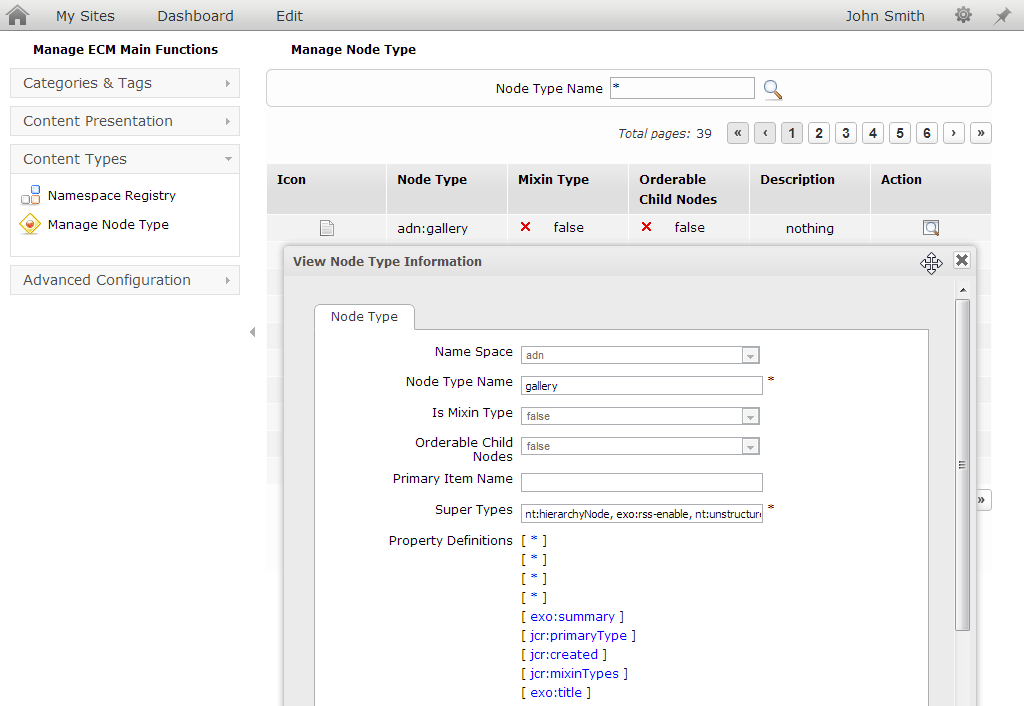
We start by the creation of the namespace of our nodetype. Our nodetype name is gallery which is related to this new namespace adn for Addon, so we need to configure the adn namespace.
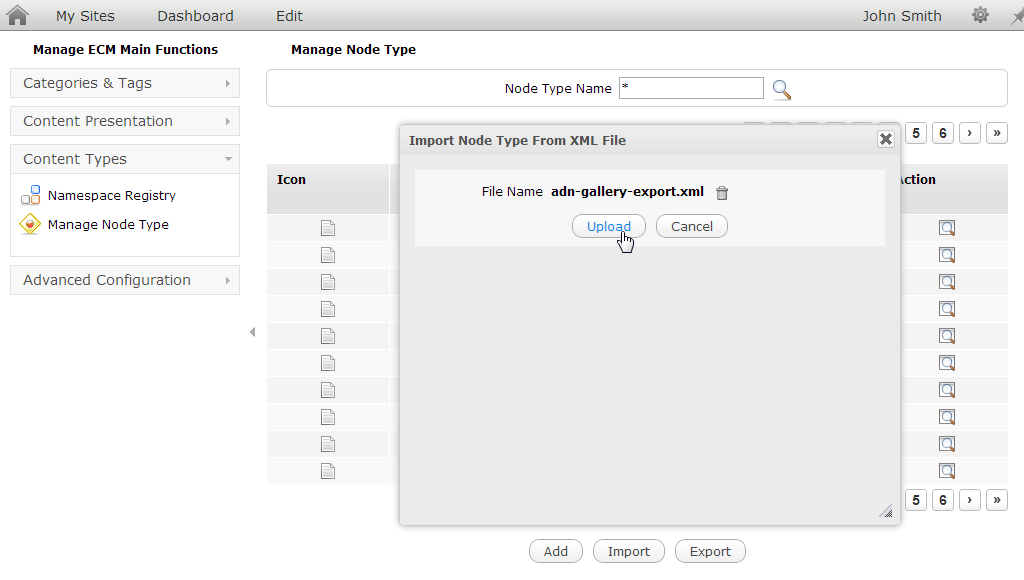
To perform that, we need to create first the name adn by registering it with the URL https://www.exoplatform.com/ under the Namespace Registry, but I made it easier by preparing the configuration file, which you can found at this location: https://github.com/exo-addons/adn-gallery/blob/master/adn-gallery-export.xml
You just need to import it into the Namespace Registry.
The Dialog Template Configuration
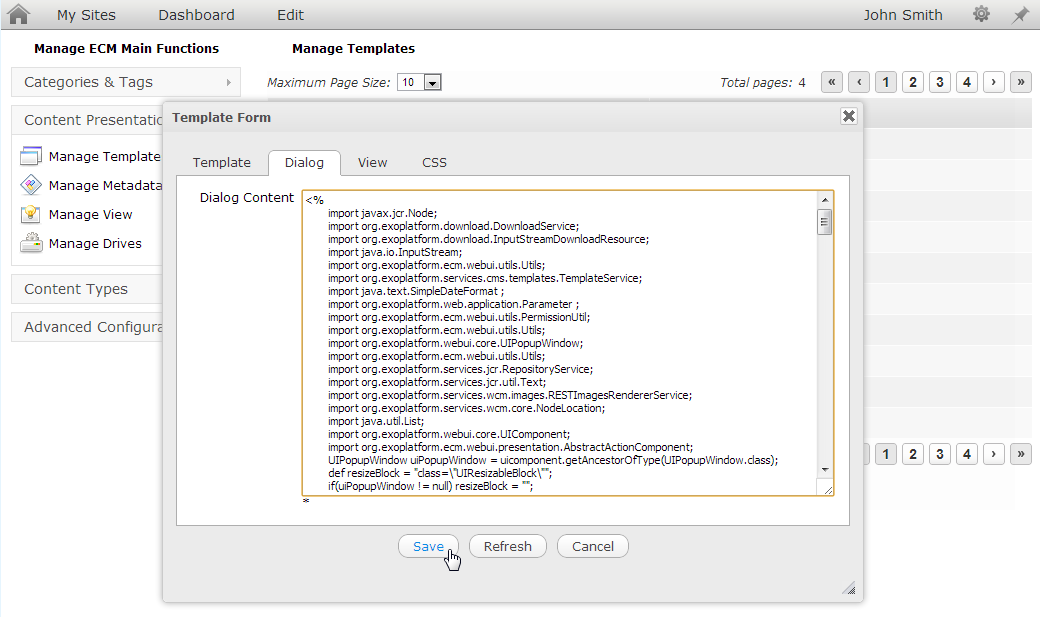
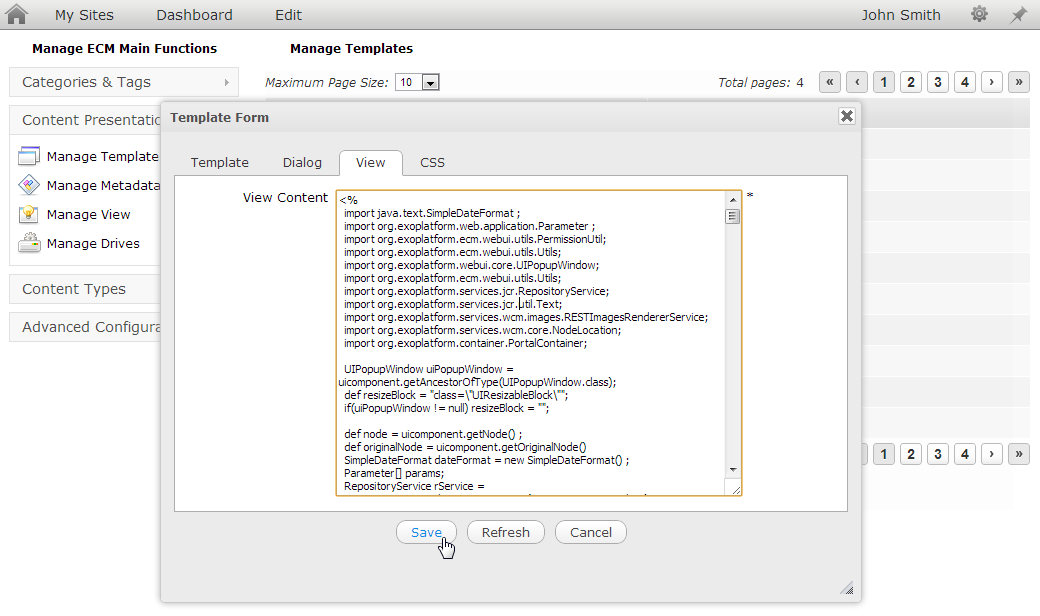
Now, we are able to create the related interface, for that we need to create the template for both; the dialog form and the view one. Go to the Content Presentation/Manage Templates, and add a new template as illustrated below. Choose the related name adn-gallery, a label and attribute permissions of use.
Then we navigate into the dialog tab, there we can edit the template, copy/past the content from this file https://github.com/exo-addons/adn-gallery/blob/master/adn-gallery-tmpl-dialog.gtmpl
The View Template Configuration
We move to the view template configuration, but before that we need to add some resources related to the JQuery libraries, and thus we will be able to use it in our gallery.
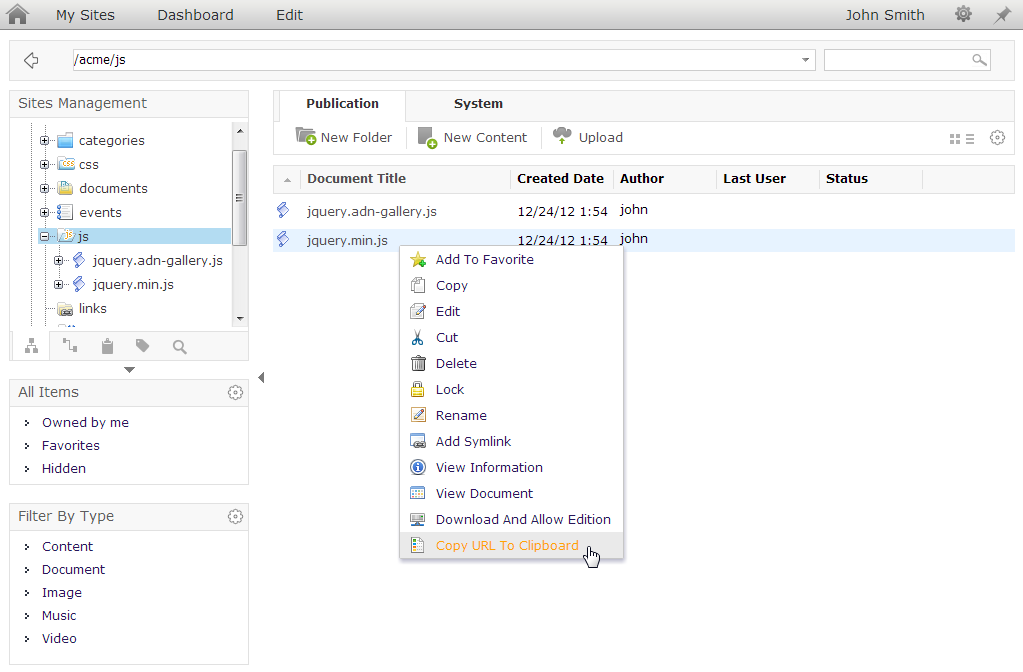
So, navigate to the back-office of the platform using the Site Explorer and upload the JS files into a given location, for our tutorial, we will choose /acme/js.
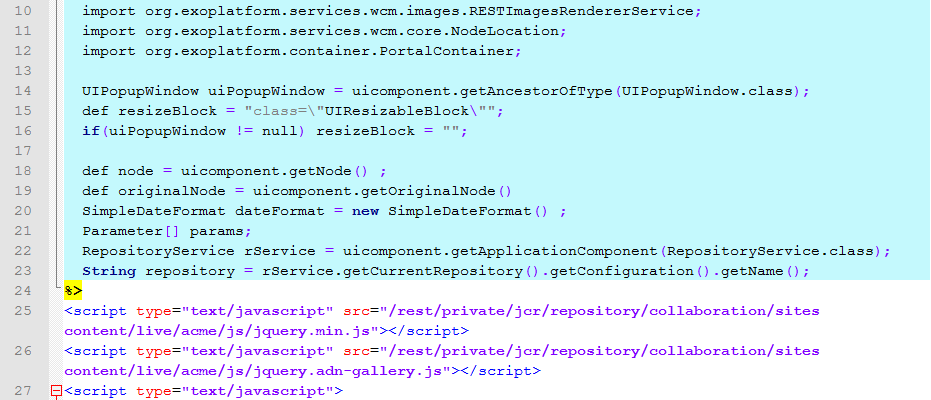
Right click on one file and ‘Copy URL to Clipboard’ in order to have to exact location. Now, it’s time to have the adn-gallery-tmpl-view.gtmpl and edit it at the 25th and the 26th lines to change the src parameter, as illustrated below:
We go back to the Content Administration Manager in order to edit the nodetype, we need to copy/past the content of this file: https://github.com/exo-addons/adn-gallery/blob/master/adn-gallery-tmpl-view.gtmpl
Now, our nodetype is ready and can be used to create a beautiful photos gallery.
Installation via extension
It’s possible also to perform the installation of the gallery feature using the extension mechanism under eXo Platform 3.5 in order to define and to configure our new nodetype.
The namespace configuration
Our nodetype name is gallery which is related to this new namespace adn for Addon, so we need to configure the adn namespace.
To perform that, we need to add to the system configuration file https://github.com/exo-addons/adn-gallery/blob/master/Ext/system-configuration.xml this source code:
The nodetype configuration
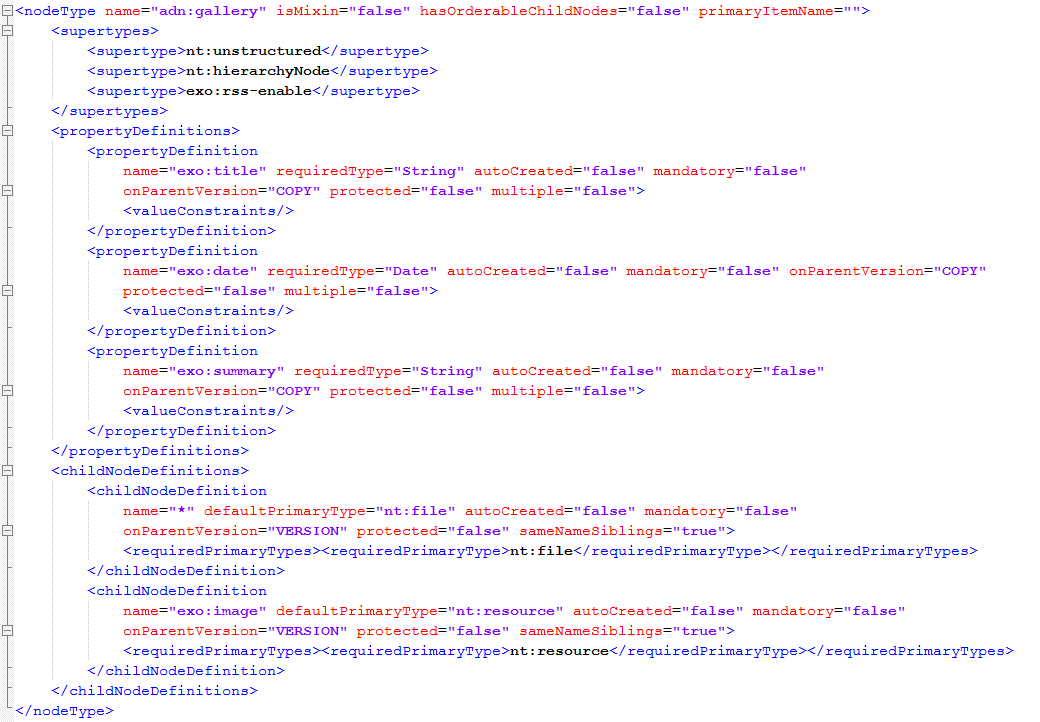
We need also to define our new nodetype ‘adn:gallery’ under the https://github.com/exo-addons/adn-gallery/blob/master/Ext/nodetypes-adn-gallery-configuration.xml file.
The view and the dialog templates
Once defining the nodetype, we need to define the associated view and dialog templates. You may add them also using the extension mechanism.
Let’s assume that you dropped these files into this war ‘my-extension.war’ and then we may perform our configuration.
Add resources files
In order to make an animation, we will add the JQuery library and some Javascript functions, for that we need to add these two files jquery.min.js & jquery.adn-gallery.js into our extension already defined.
After that we have to update the view template adn-gallery-tmpl-view.gtmpl in the two first lines in order to define the location of the Javascript files like this:
Features
Now, it’s Ok for the configuration phase, we can move to the use of our photo gallery.
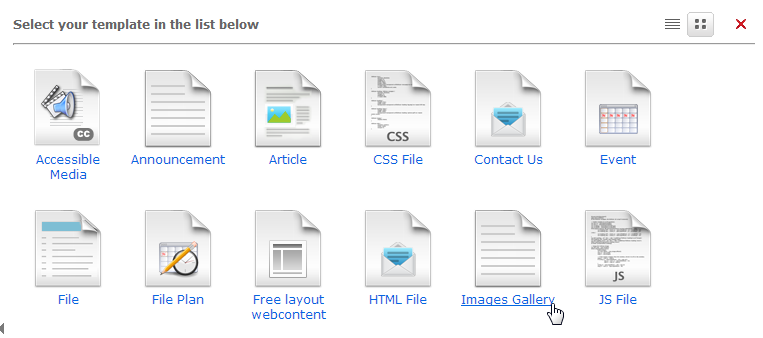
We can navigate to the back office of eXo Platform 3.5 and then create a new content. Choose the template Images Gallery:
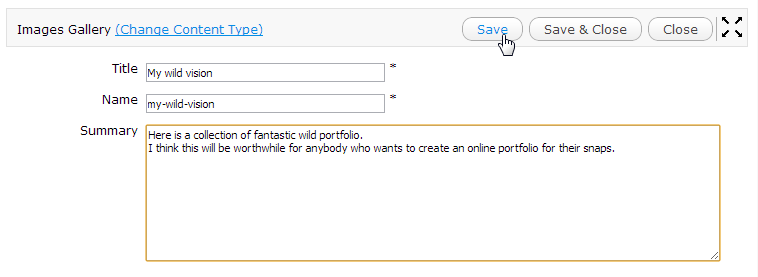
You confirm the input and save the document.
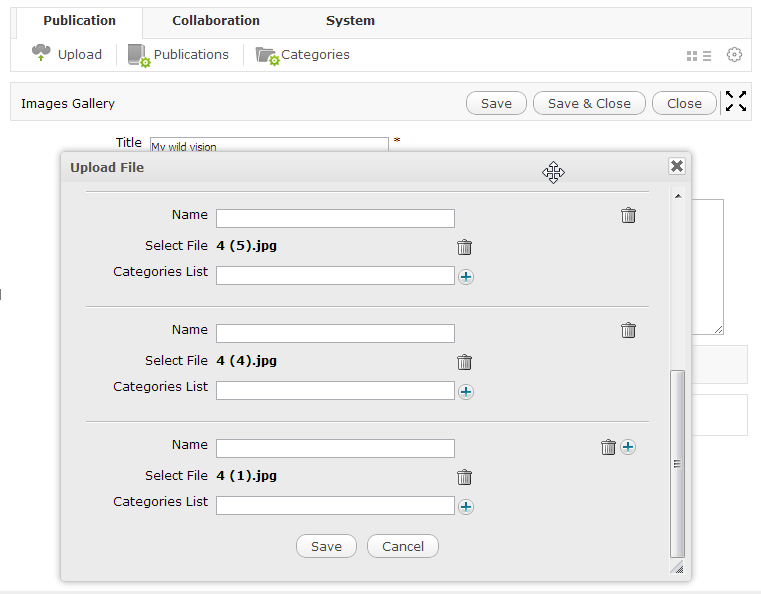
You may upload a set of images. You may also delete or update the related metadata of the image directly after uploading.
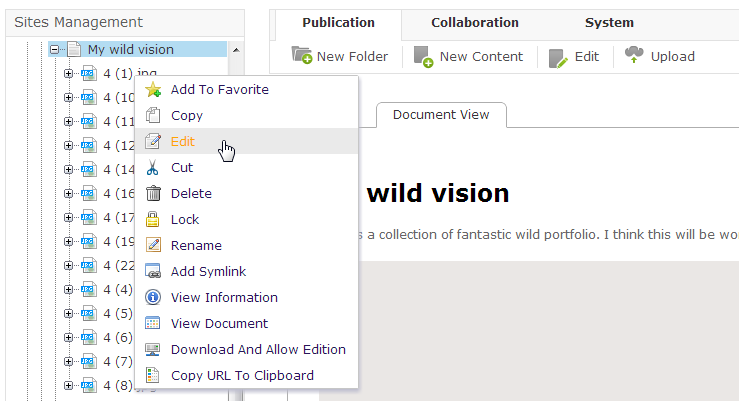
Or using the explorer side of the document management system.
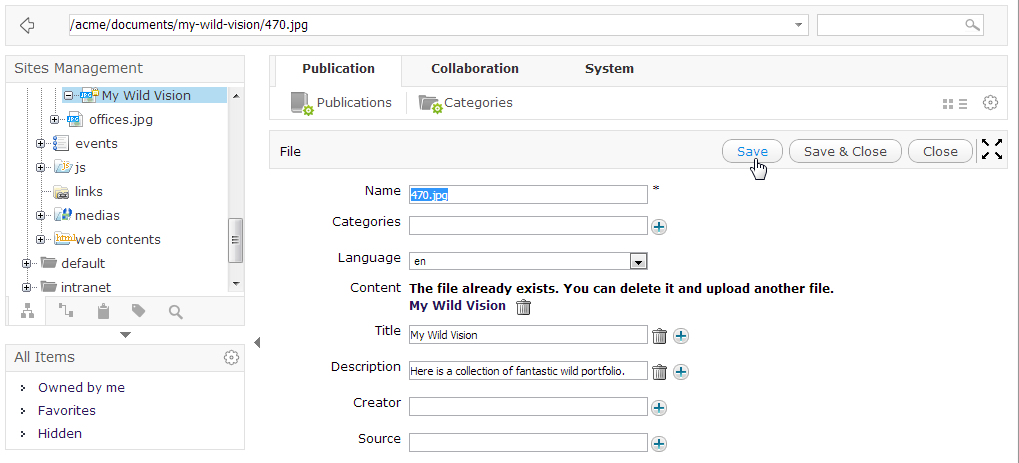
It’s possible to edit the metadata of the image like title and description in order to be displayed in the gallery.
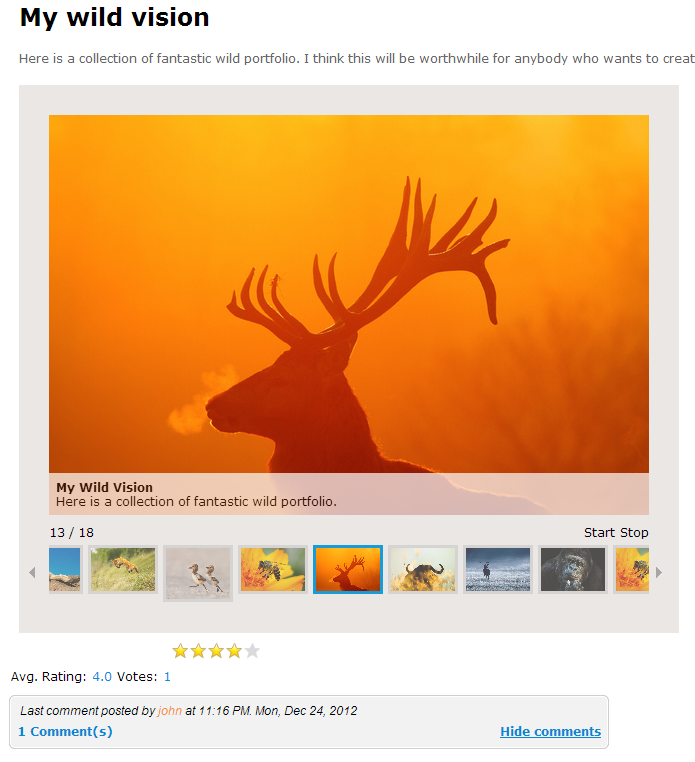
And finally, you can get your photo gallery based on JQuery library.
Submit your own eXo Add-ons!
If you are a developer and you have worked on something you would like to share with the eXo community, eXo Add-ons is the best place to host your code. And rest assured: you will remain the owner of your project. We won’t claim any IP or other rights. It’s your stuff, just a bit more visible.
It’s very easy to get your own repository on eXo Add-ons. Just drop us a request and we’ll get you ready.

