
FREE DATASHEET
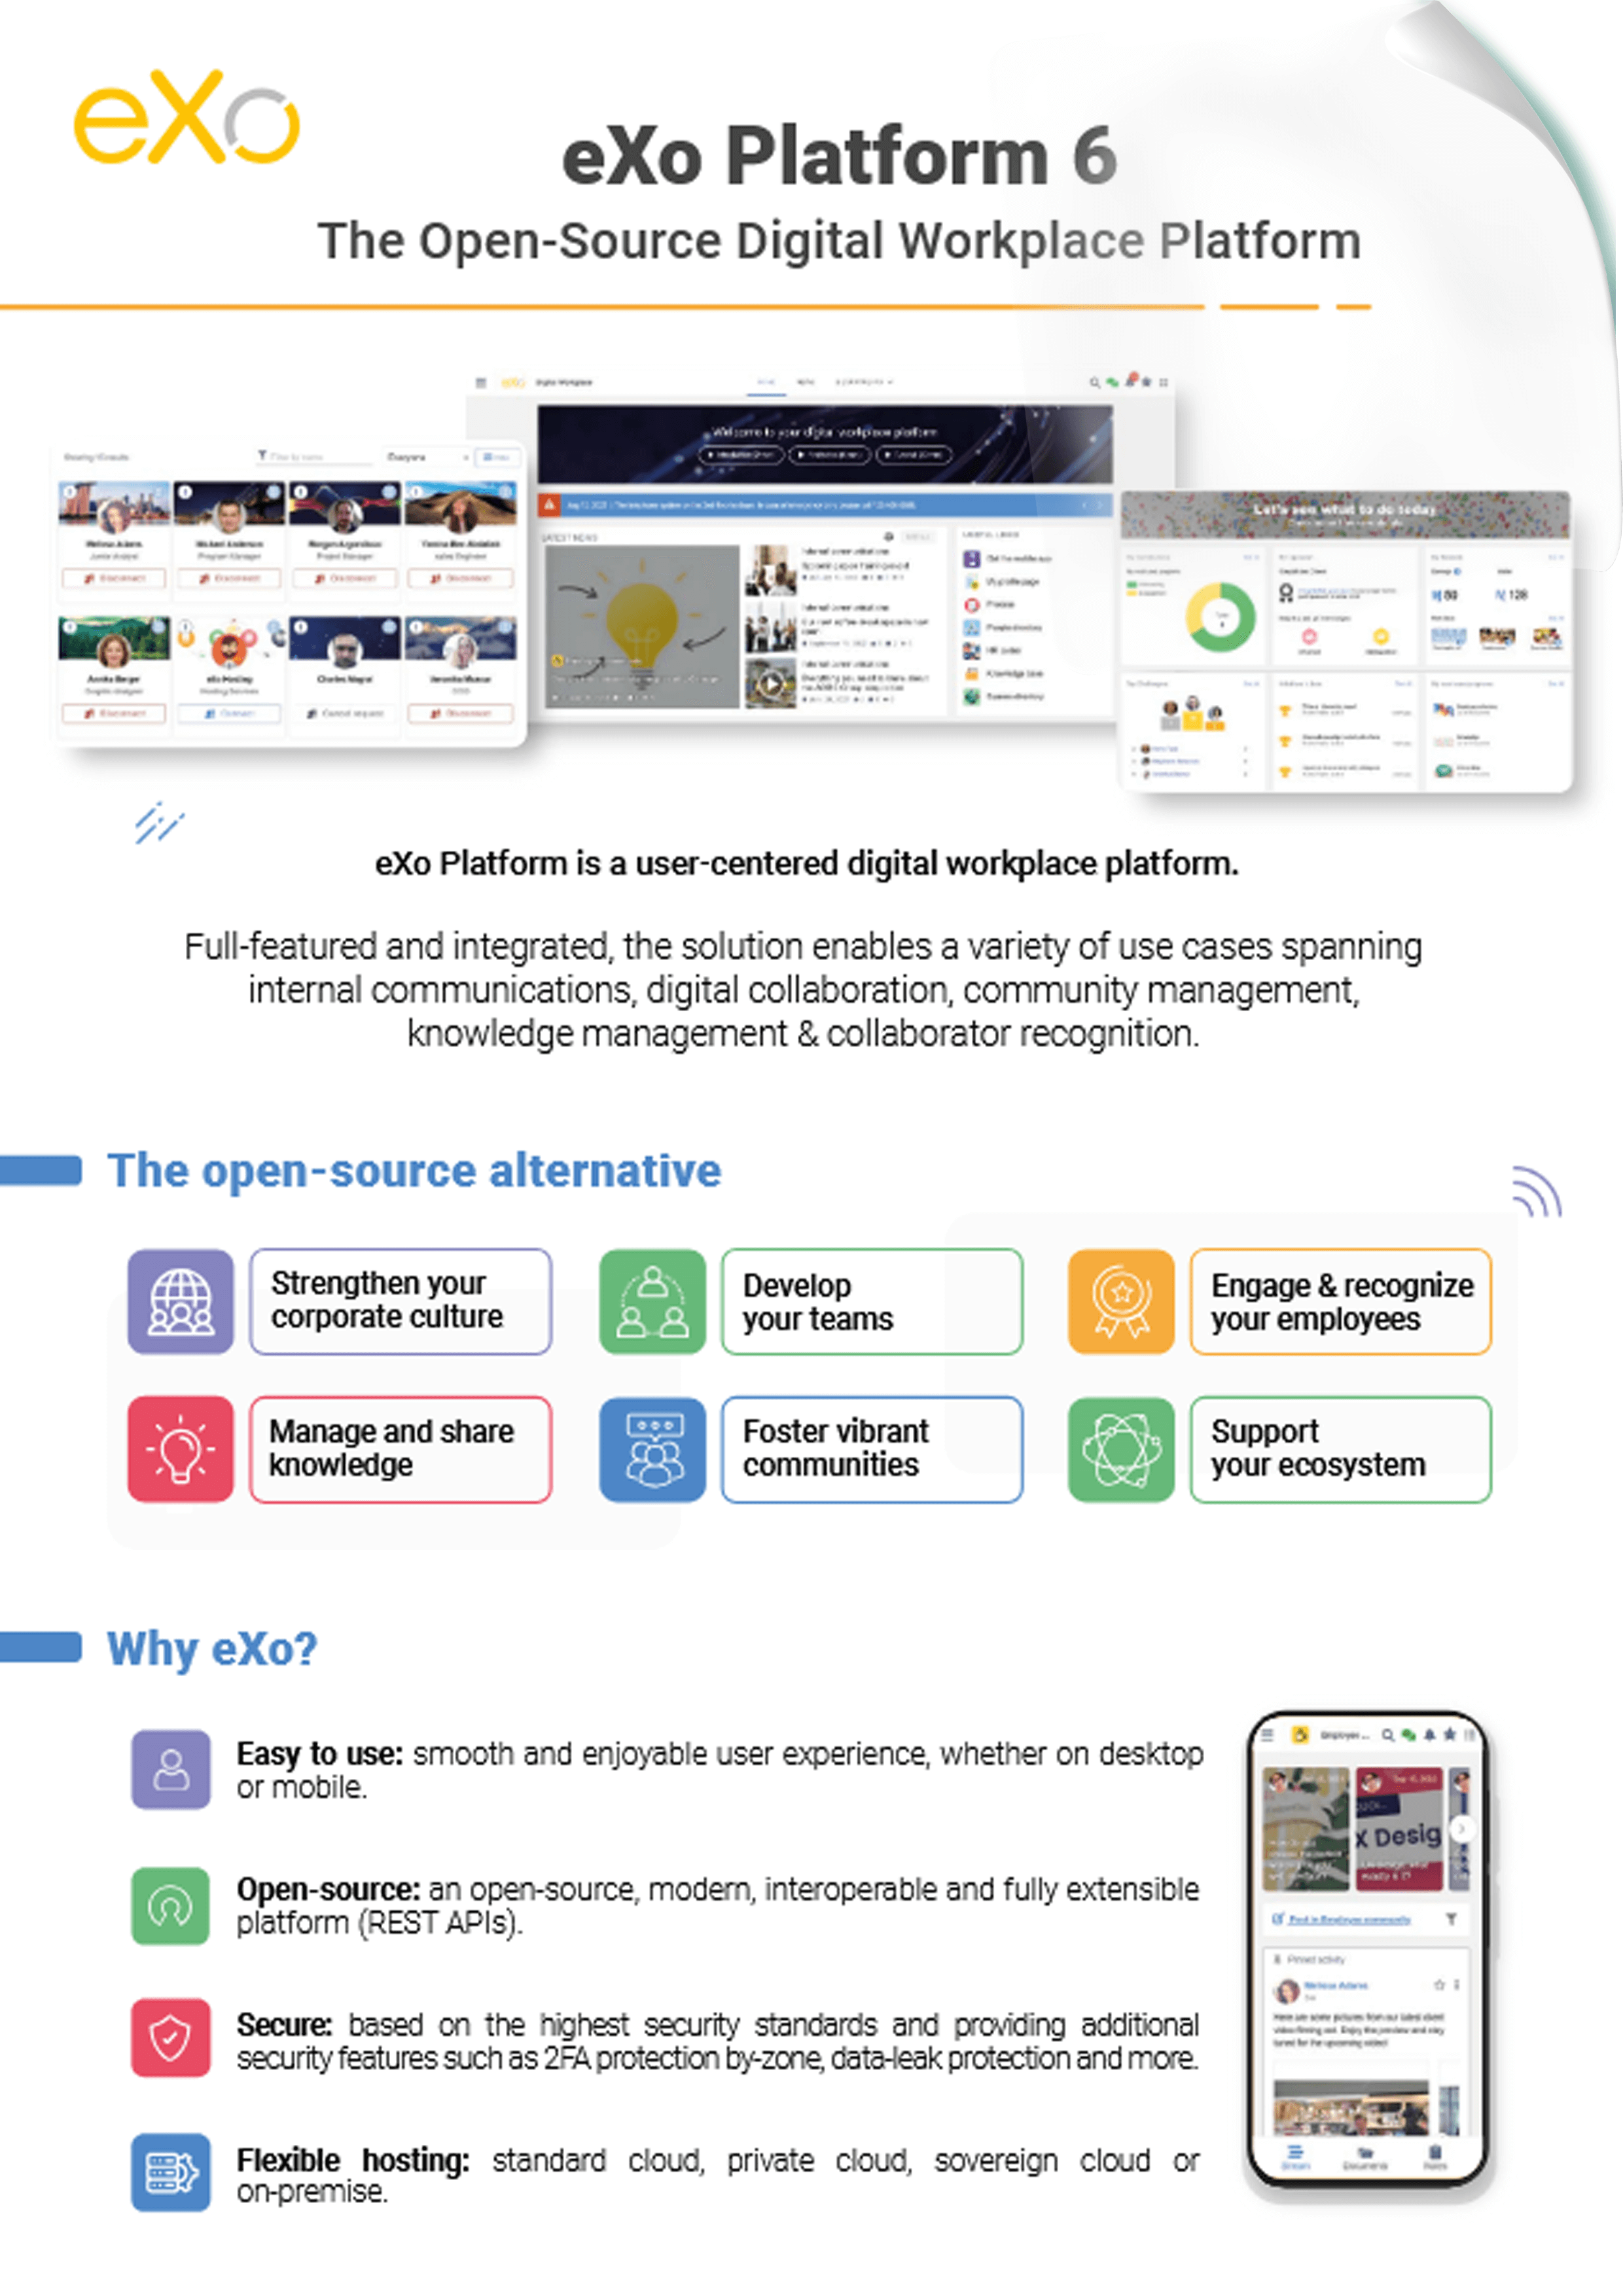
Download the eXo Platform 6 Datasheet and discover all the features and benefits
The eXo Platform’s web content management capabilities allow you to create content you can publish on your website or share on your intranet. The content is displayed via Groovy templates that depend on the content’s JCR Node Type. In order to share this content outside of the eXo Platform context, you need to export the content in a standard format.
In this tutorial, you will learn how to easily generate a PDF version of your content and make it available from both the front and the back end of your eXo Platform instance. To protect the generated PDF content, you can also learn how to watermark PDF files, ensuring your documents are visibly marked as proprietary or confidential when shared.

The PDF files will be generated with JasperReports, a popular open source reporting engine. Then, using the eXo Platform IDE, you will be able to quickly develop and deploy REST services to publish JasperReports within the platform.
In this tutorial, we will show you how to prepare a Node Type definition and generate PDF files from there. You can then generate PDF files from any other Node Types.
Add the JasperReports library jasperreports-4.0.0.jar to the eXo Platform classpath. You can download it here: https://sourceforge.net/projects/jasperreports/files/jasperreports/JasperReports%204.0.0/.
JasperReports has some dependencies that are already available in eXo Platform; if you use the eXo Platform Tomcat bundle, you can simply drop the jar in the /lib folder.
For the REST service part, make sure you have installed the eXo IDE extension following this documentation : InstallingExtensions.IDE.
To create a Node Type, follow these steps:
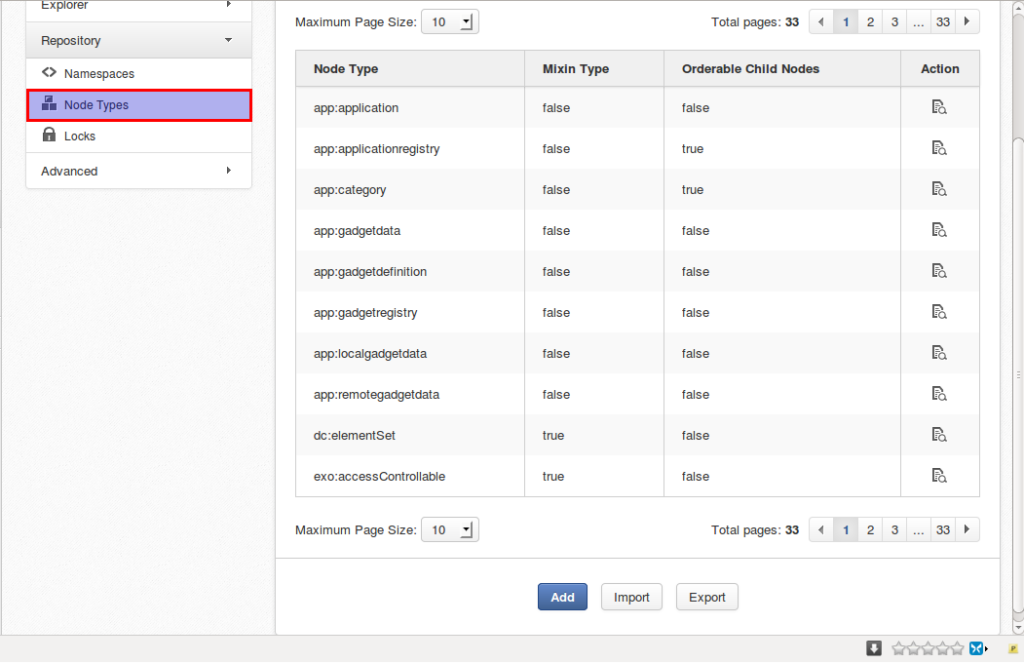

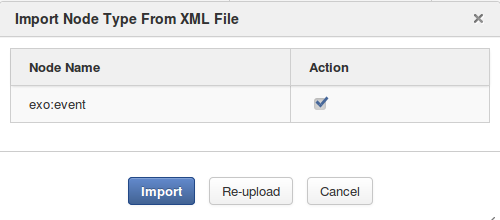
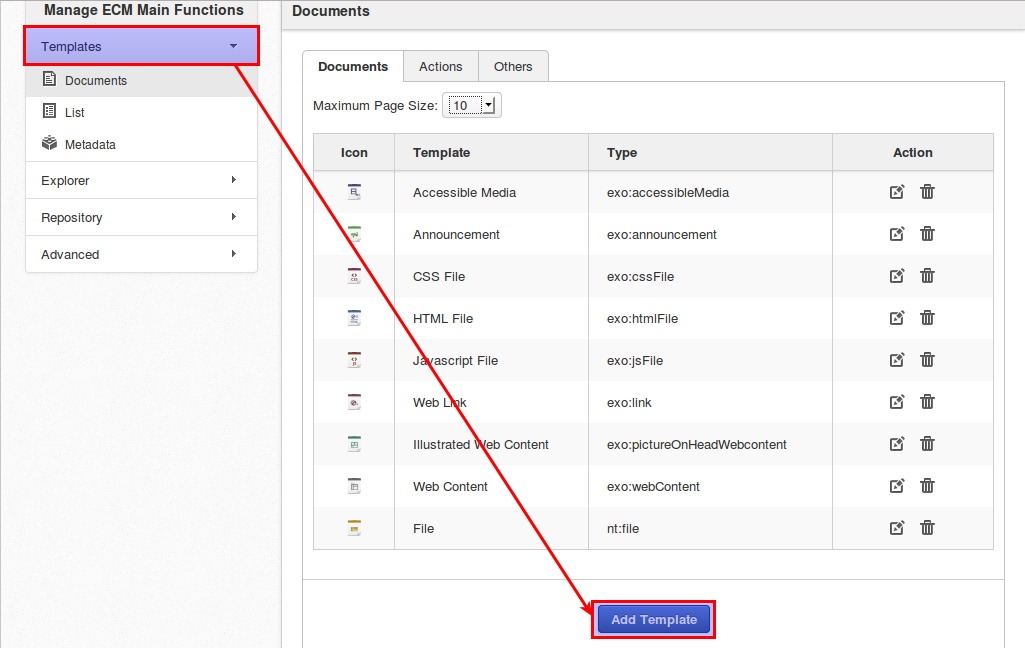
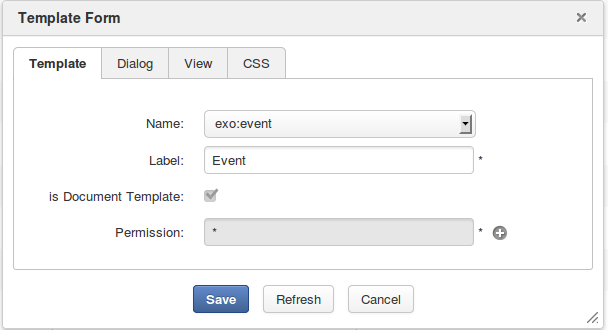
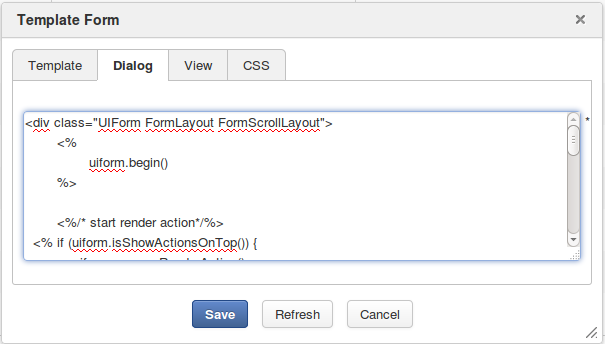
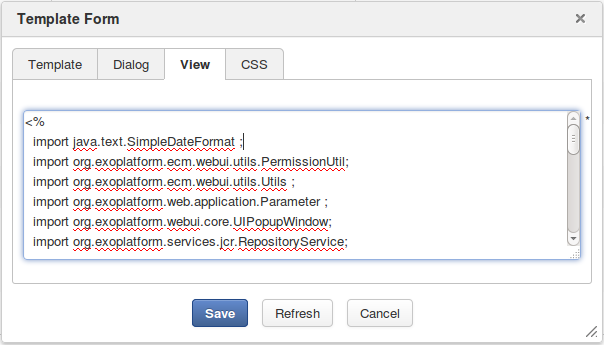
Take note of these lines:
					def node = uicomponent.getNode() ;
def nodeId = node.getUUID();
and
					def node = uicomponent.getNode() ;
def nodeId = node.getUUID();
These define how we call our REST service /rest/private/pdf/export/event/${nodeId}, which will retrieve the event data via the {nodeId} parameter and launch the generation of PDF files. We will go through this REST service in detail in Section 5.
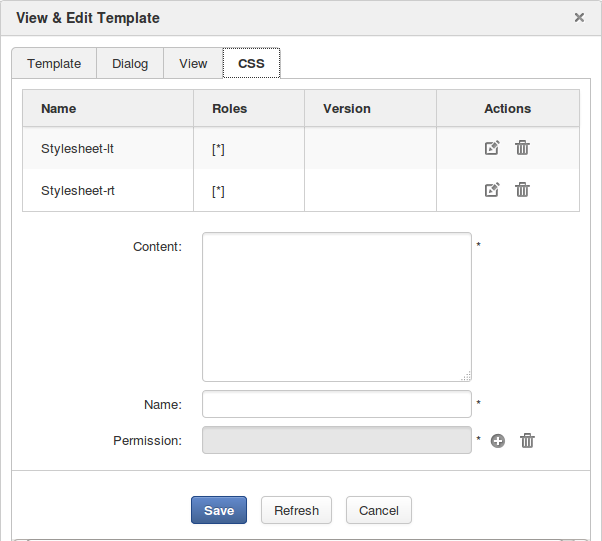
To see our result, let’s create a new Event content using our newly created Node Type.
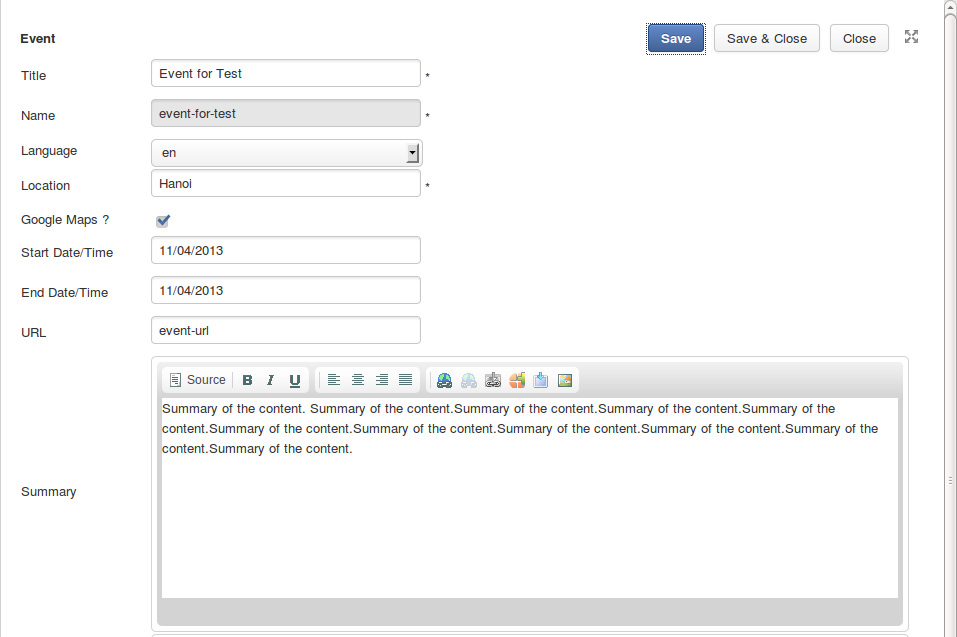
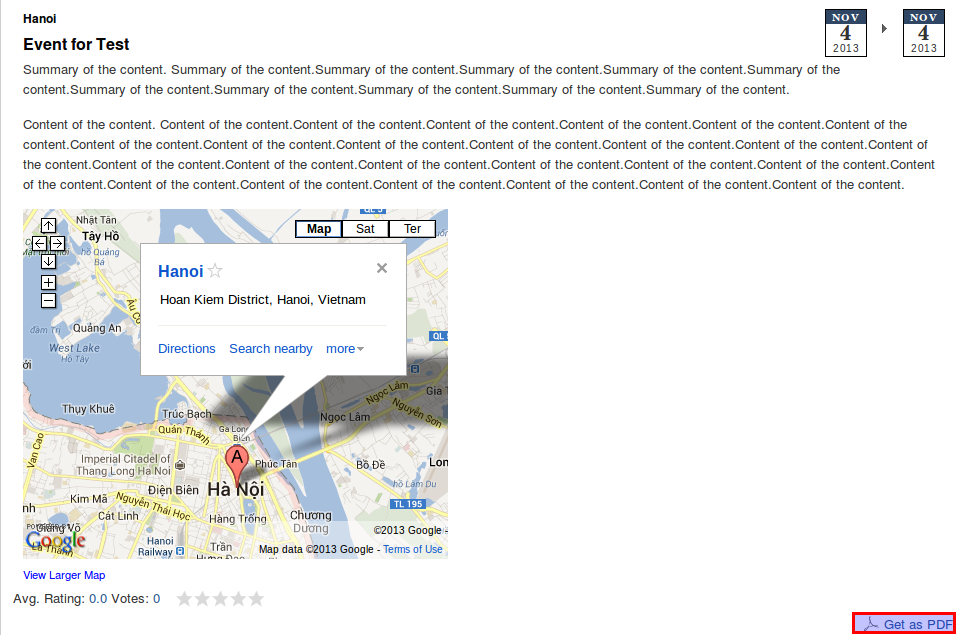
You should see the link in the bottom right-hand corner that will enable you call the REST service.
JasperReports is an open source reporting engine that allows you to produce documents that can be viewed, printed or exported in a variety of formats such as HTML, PDF, Excel, OpenOffice and Word. It uses an XML template to describe the exported document structure and data, and can use any data source provider.
The first step is to create the JasperReports XML report template (which can be done with iReport—JasperReports’ graphical designer). Here is an example of a report template for the exo:event Node Type. The input fields are the title, location, start and end date, summary, and the content of the event:
Don’t forget to set the “markup” option to “html” for any HTML parts, if you want JasperReports to interpret it.
Once the template is created, we need to upload it to the eXo Platform. Open your eXo IDE, go to the location of your choice (dev-monit/jasper in my case) and click on File > Upload… Tip: keep the file extension as .xml. This will allow you to edit it directly in the IDE.
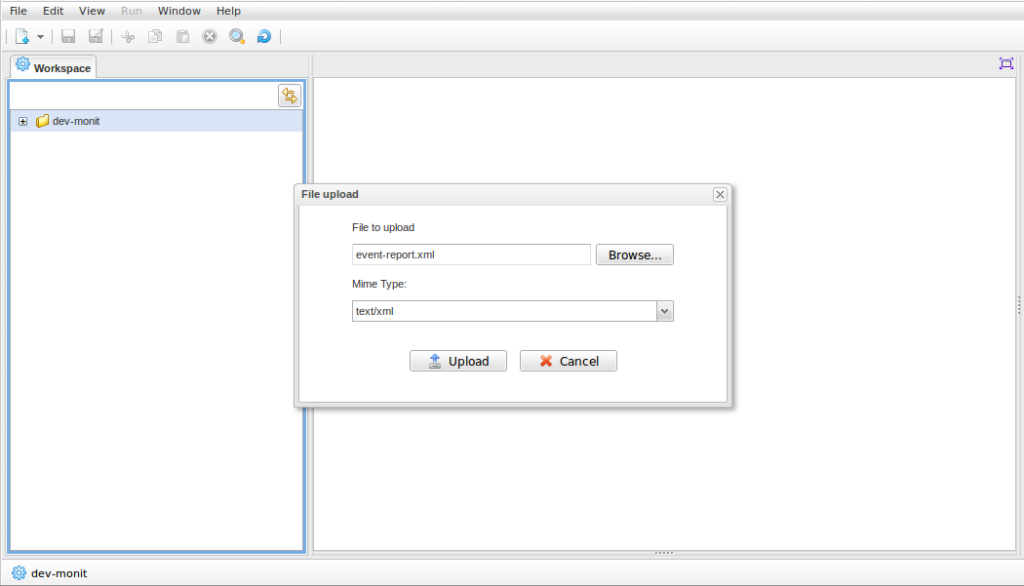
We will now create the REST service, which will retrieve the event data and launch the generation of PDF files. Creating a REST service in eXo IDE is very easy. Click on the New button and select REST Service. This will generate a new REST service template that we can customize to fit our needs. The location of the REST service doesn’t matter. Save it with the name of your choice (in this example, we use ).
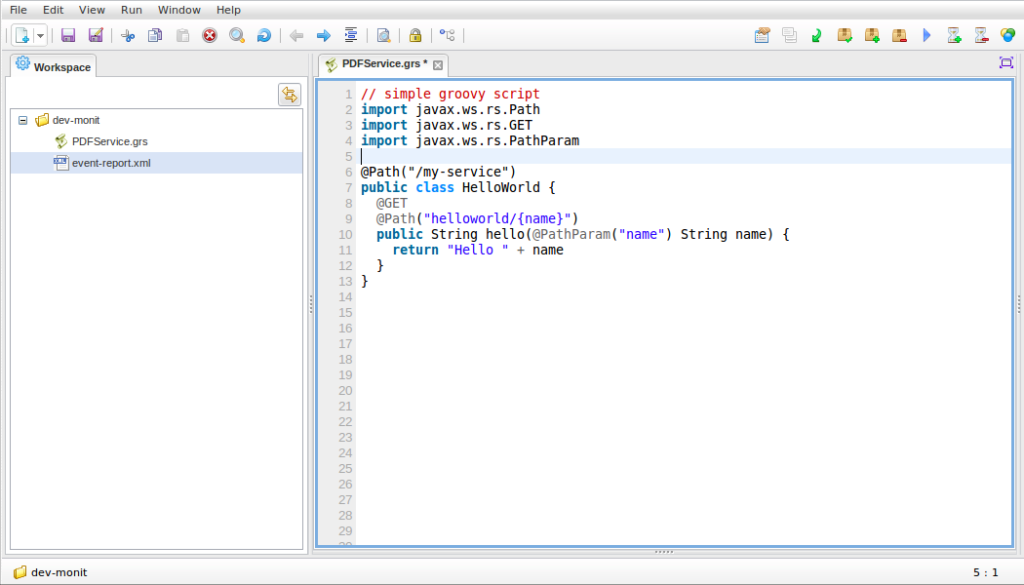
The REST service needs to be able to retrieve the PDFService.grs with this one: https://raw.github.com/exo-addons/resource-center/master/event-nodetype-and-jasper-report/PDFService.grs
The URL to call the service was defined in the previous section: /rest/private/pdf/export/event/${nodeId}
After publishing the REST service, you can easily test it in the IDE. Click on the Launch button in the upper right-hand corner, replace the nodeId parameter in the URL with an event ID of your choice and click Send. The response will be displayed in the IDE’s console.
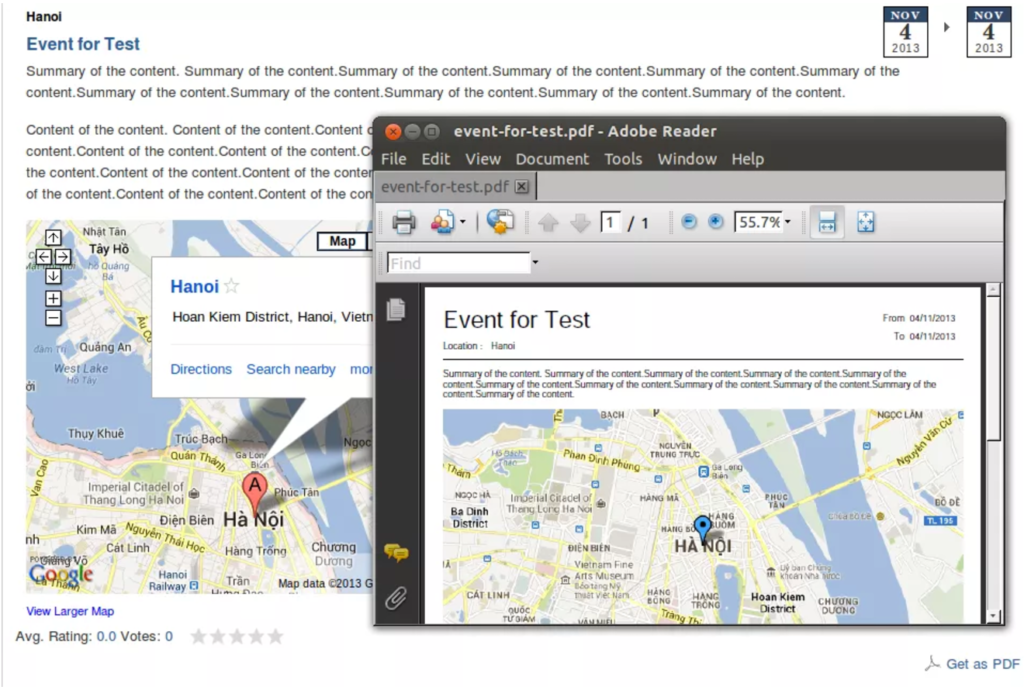
Below is the final result when you click on the link button Get as PDF of a particular Event content.
Questions? Remarks? Join the discussion on the eXo Community!
eXo Platform 6 : The Open-Source
Digital Workplace Platform
Download the eXo Platform 6 Datasheet and discover all the features and benefits


Download the eXo Platform 6 Datasheet and discover all the features and benefits
( Your e-mail address will not be published)
I am a software architect at eXo. With the developers, I (try to) convert technically what the product management people have in their minds. I also assist the support team in answering customers’ questions. In this blog, I share what we develop in the platform and provide tips to help customers to use or customise it.